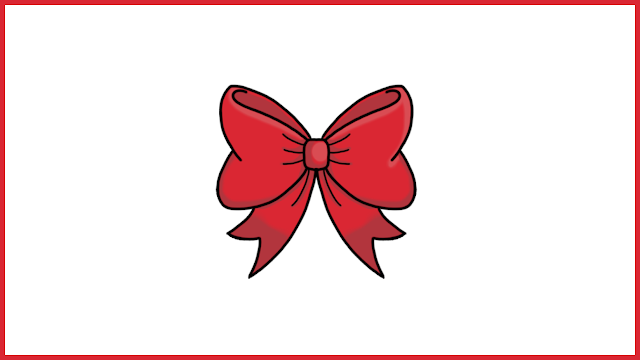
Bows are a kind of decoration that is often used to embellish clothing, gifts, or other items. They can be made from a variety of materials, including ribbon, fabric, or even paper. Bows come in many different shapes and sizes, from simple loops to elaborate, multi-layered designs. They are a popular addition to weddings, birthdays, and other special occasions and can add a touch of elegance and charm to any outfit or gift. Whether you prefer a classic, understated bow or something more elaborate and eye-catching, there is sure to be a bow that suits your style and needs. With so many options available, it's easy to see why bows remain a timeless and beloved decoration.
In addition to being a decorative element, bows can also serve a functional purpose. For example, a bow tied around a gift can help keep the wrapping paper in place and prevent it from unraveling. Similarly, a bow on a piece of clothing can be used to adjust the fit or create a more flattering silhouette. Bows can also be used as hair accessories, adding a touch of whimsy and femininity to any hairstyle. With so many uses and styles to choose from, it's no wonder that bows have remained a popular decoration for centuries.
How to Draw a Bow
All you need is a little bit of practice and persistence to draw a lovely bow. There are many resources available to help you master the craft of bow-making, regardless of your level of craftiness. There are a plethora of resources available to help you make a bow that precisely matches your vision, from tutorials and step-by-step guides to pre-made bow templates and tools. So why not use a lovely bow to bring a little class and charm to your next project? The only restriction is your imagination, with so many options.
Step 1 : Draw the structure
Step 2 : Add the details
Step 3 : Outlining
Step 4 : Coloring
You can create bows in different sizes, colors, and materials to suit your needs and preferences. From satin and velvet to ribbon and lace, the possibilities are endless. You can also experiment with different knotting techniques to create various styles of bows, such as the classic looped bow or the trendy twisted bow. With a little creativity, you can incorporate bows into a wide range of projects, from gift wrapping and scrapbooking to home decor and fashion accessories. So next time you need a touch of elegance or playfulness, don't hesitate to add a bow to your project.


0 Comments